facebook
  • Project Sewing Vault
    • Sewing Courses
    • Link List and NEWSLETTER SIGNUP
    • My Sewing Shop's Blog
  • About Me
  • Bra-Making Blog
    • Sew Your Own!
    • Never Sewn Before? Start Here!
    • How to wear your bra
    • Bra Making Fabrics
    • Measuring for Bras
    • Wire Fitting
    • Wire Alterations
    • Fitting Bands
    • Band Alterations
    • Fitting Cups
    • Cup Alterations
    • Sloper Manipulations
    • Sew Alongs
    • History of Bras
    • A Day in the Life
    • Gallery
    • The Process of a Custom Bra
      • The Process of a Custom Bra
      • Why Have Custom Bras?
      • Wire Fitting
      • The Fitting Band
      • Drafting for Volume
      • Creating a Sloper
      • Pattern Design
      • Sewing a Bra
      • How to wear your bra
  • Learn to Sew
The Eve:
Why this pattern is
Revolutionary to
Bra Making

Bras by Kristen

Explaining the process of bra drafting for potential clients or drafting students.

I cut fabric for the fitting band in A Client's Fitting Band - Part 1.  I show assembly in A Client's Fitting Band - Part 2.  Then I cut and sewed tester cups in Test Cups for A Client.  Here's my summary of how the fitting went.

Recap

With my client measuring at a rather extreme torso shape, I was concerned that her measurements may have needed shaping to the back in a downward hike like I highlighted in this post about band alterations, based on previous work that I have done for this client in shaping her back darts in her clothing.  Therefore, I had created a "seam allowance" along the strap attachment point on her back band in case this alteration was necessary.  I was almost hoping it was necessary, however, the band  was successful exactly as the pattern was created. I'm a little disappointed that I can't show that alteration this time around. 

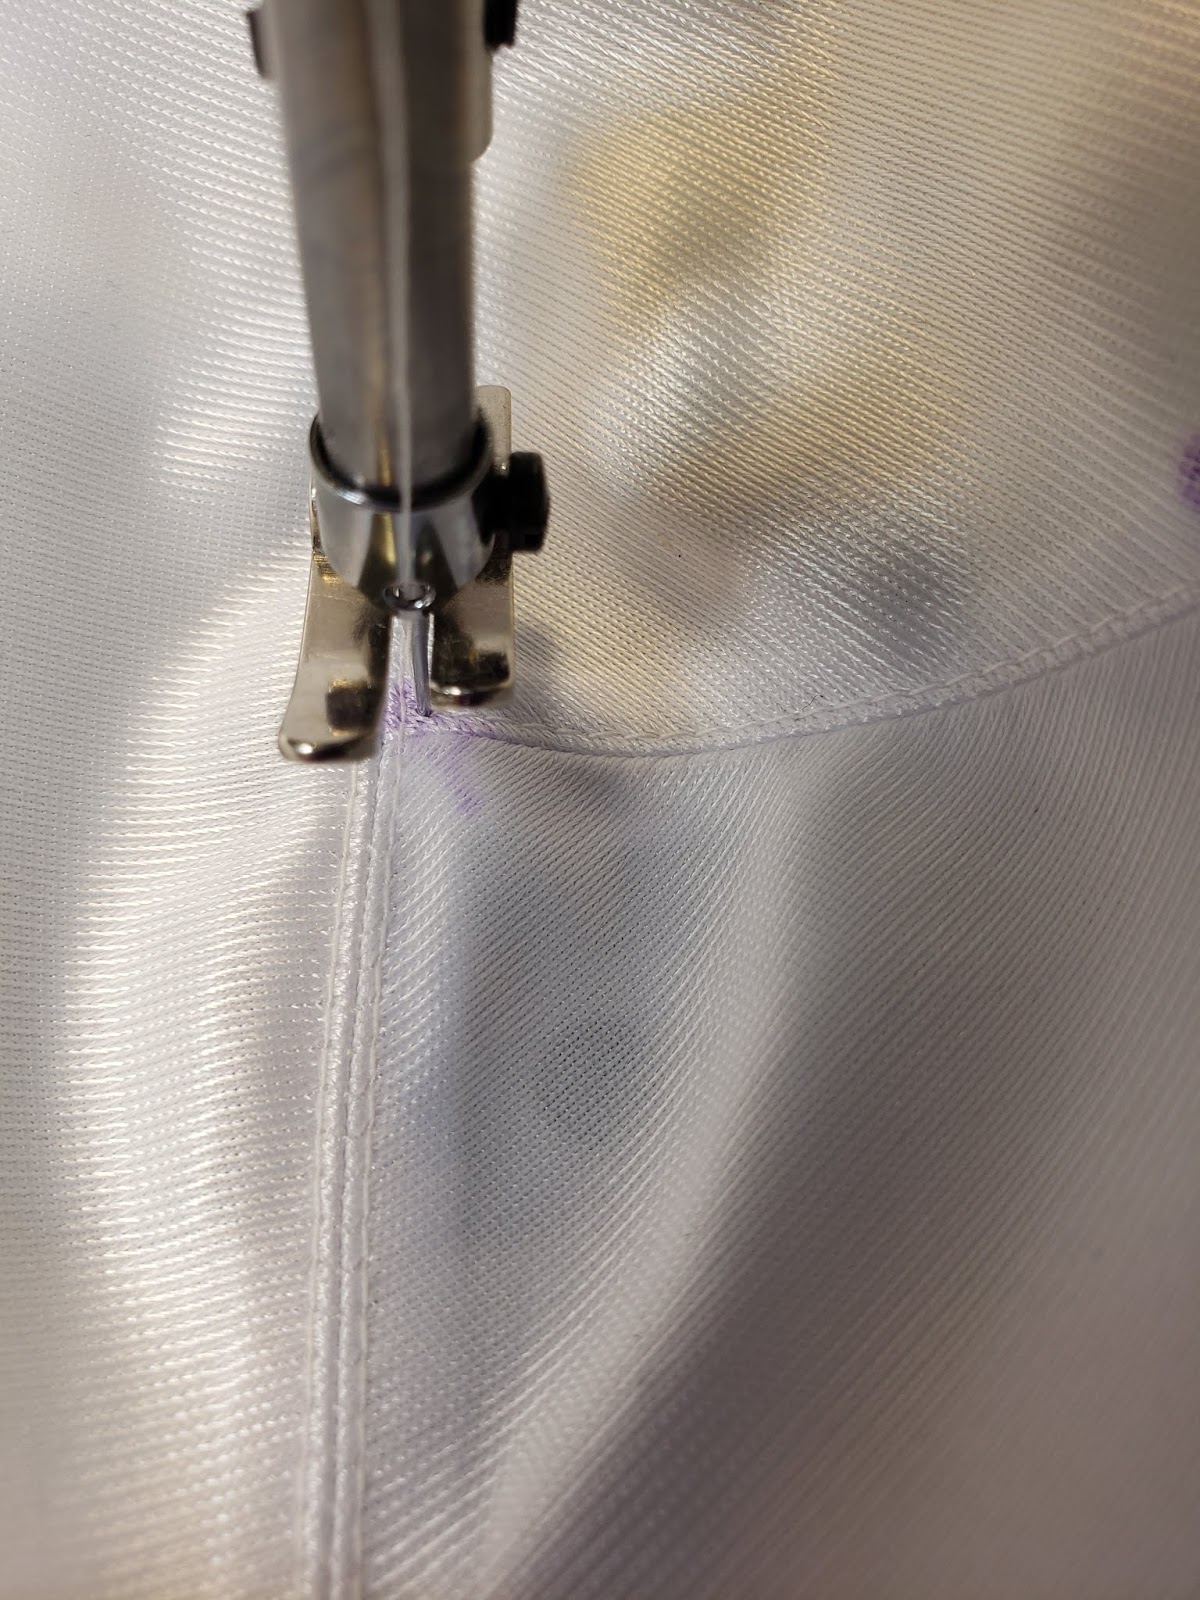
Seam allowances facing outside the band for comfort of the client and for ease of manipulating in the fitting for being able to pin. 


Inside of the fitting band, nice and smooth to the skin.


Fitting band on the hanger. 


My client measured as cup #2 in the cups offered in the 34 wire size.  So I made cups 1, 2, and 3 to have options for fit.


I started with cup #2 basted into the frame and pinned the straps on, because I wanted to be able to  move the straps easily for this client.  Strap attachment points can affect whether or not the straps dig into the muscle structure of the shoulders and if bra straps dig in a certain area of the shoulder it can create migraines (ask me how I know! This is why I don't care for X straps in the back.) 


The Fitting Summary

When she tried on the bra, there was only a little extra in the cup.  I probably could only pinch 1/4 inch of too much space in the cup.  In a much larger size, I would not have thought of trying a smaller cup, but in this case, I knew that the differences between the sizes could not have been more than 1/4 inch from cutting it out and handling the patterns. In a client of this size, 1/4 inch elastic stretches in the sewing just enough that it dents in the breast tissue along the neckline edge.  Because every underwired bra she has had seems to dig into her ribs/sternum, we have decided on a foam cup bra and the underwire channel being on top of the foam (an idea I have seen in ready to wear bras that I have altered). 

I cut fabric for the fitting band in A Client's Fitting Band - Part 1.  I show assembly in A Client's Fitting Band - Part 2.  Then I cut and sewed tester cups in Test Cups for A Client.  Here's my summary of how the fitting went.

My client measured as a cup #2 in a Regular 34 Porcelynne wire in a 28 band with a torso shape of V6. So, to have a few sizes to try like you would shopping in a store, I made cup # 1, 2, & 3. The frustrating store experience of band sizes that are different numbers to try to find the right sister size that will fit is basically eliminated with this fitting band and basting in cups way of trying on bras. Cup #2 was a little big for my client and cup #1 fit perfectly. No alterations  were needed for this client, I just moved down a cup size and it worked out. Below I have pictures of the assembly process. 

The Assembly 

1. I always mark front, apex, base of the vertical seam, and front. It's too easy to mess it up otherwise. (As my bra friend Dale says, "Ask me how I know." )


3. I stitched the vertical seam of the lower cup. I don't recommend back stitches at the apex because it can cause the fabric to have a bump that shows through shirts. The goal is to hide the nipple, not make it stand out.


I recommend to hold the tail of thread and lightly pull at the back to keep your fabric from getting sucked down into the machine.  (Some machines are more prone to this than others and if your fabric gets sucked down often, then I would start at the base of the cup and start up 1/4 inch, stitch up to the apex, turn and stitch back down to the base and back stitch at the base to reinforce the area you skipped to get started.)


I got to the end and put my needle down and pivoted... 


... and stitched the other direction exactly on the first line of stitching so the seam could still be pressed open. 


4. I pressed the seam open. It helps sink the stitches into the fabric and then I don't have to fight with the seam when I topstitch.


5. When lining up the upper cup to the lower cup, I match the seam allowances, not the corners. (see the purple line on the cup.)


6. There's a scant amount more of the lower cup almost visible by the rippling in this first picture. 


I slightly stretched the cup, so it evenly distributes the wrinkles and put a pin at the apex so the fullness is spread evenly. 


7. I stitched the cups together. I always place whichever side of the cups has more fullness to the feed dogs to ease it together. 


Also, I put some slight pressure while stitching, but not too much... Just enough to make the fullness disappear again. 


I pivoted around and sewed back the other direction, very carefully to match the stitches so it could be pressed open. 


8. I pressed the seams open. 


9. I topstitched 1 - 2 mm from the seam to flatten this seam as much as possible. 


I pivoted, moved to the other side of the seam, and topstitched the other side at that same 1 - 2 mm from the seam.


At this point, I topstitched up the vertical seam. 


I turned and topstitched the seam allowance from the horizontal seam just below the horizontal seam's top stitching. 


10. I applied elastics to the neckline and armhole areas of the cup because I'm making these cups to be used with generic adjustable fitting bands in my shop, so I'm building my inventory of cup sizes.  This could be skipped for most cups in the testing process. 

I started with an extra 1/4 inch of elastic hanging off the end because once you turn it inward to the cup, it is at an angle and if I don't lead with a little extra, then it won't go to the end of the cup and won't be caught in the seam allowance. 


I started at the side cup so it would be covered by the neckline elastic when it gets turned. 


Once I was most of the way sewn, I clipped the elastic off at the neckline seam allowance so it's not super bulky when the neckline gets turned over. (see purple indicating the seam allowance at the end of the elastic)


I turned it to the inside, and it's still too long where my thumb is, but not by as much as it first seemed like when I started on the outside. Also, you can see how I stopped at the seam allowance at the strap point. 


Here's how it looked after topstitching. 


Again, I left 1/4 inch extra for the first pass to allow for the angles once it gets turned. 


Once it is turned to the inside, almost the whole 1/4 inch of lead space is needed for topstitching the elastic to the inside. 


After I completed the second pass, that is when I cut the elastic at the center front of the cup. 


I then trimmed the tail of the neckline elastic at the strap attachment area by sliding my scissors in behind the scallops of the armhole elastics to get a clean line right at the edge. If I were putting this cup in a finished bra, I would bartack the strap on at this point to look like most of the ready-to-wear bras that I have worked on in our alterations shop


End Results

The completed cup, ready to be basted into the fitting band. 


I love the way Monica explains the concept of your band having the right diameter for your Frame.


Basically, everything in fitting a bra starts with a wire that is the right width and this post and video of hers below has resonated with people in the past.

The only things I would add is, first, in the Bare essentials drafting method, Jennifer has come up with some mathematical ways to estimate the volume above some of the past methods, so getting your pattern to fit more correctly is less of a mystery. Secondly, weight gain/loss can absolutely change wire diameter.

Einstein and Bra Fitting

"Everything should be made as simple as possible, but not simpler." -Albert Einstein And so it is in the world of bra making. Fitting is by far the most difficult aspect of the bra making journey. This is partly because in our effort to make it simple, we have made it a bit too simple.
Here is Monica's video that is featured in the blog post above.
I'm so excited to share this post that I saw on one of the forums today. This would take quite a bit of time to create, but Man it would be beautiful if it matched the whole rest of the bra!!

Tutorial: Self-Fabric Bra Clasps - Kat Makes

It's bra time again! I'm not going to lie, I've been looking forward to this post more and more with every single comment all you lovely humans gave me on my floral bustier - and it is in fact, due to your kind pestering, that this tutorial exists!
I cut fabric for the fitting band in A Client's Fitting Band - Part 1.  I show assembly in A Client's Fitting Band - Part 2.  Then I cut and sewed tester cups in Test Cups for A Client.  Here's my summary of how the fitting went.

The Assembly

1.  I marked the stitch lines because I"m using them as a guideline for things I'm top stitching onto the fabric. The center front is designed to be cut on the fold, so the seam would go where you see the edge of the paper (1 inch seam allowance). The side seam has 1/4 inch seam allowances so adding an inch will give a seam allowance of 1 1/4 inches.

2. I thought I could get away with just marking "the essentials" on the second side, but I ended up marking all the same lines.  It just makes it easier when stitching to just follow the line.

**Note: I am applying all the elastics to the pieces first, before putting the band together.  This makes it easier in a fitting to alter on the fly and stitch new angles to the seam if anything needs adjusting.  

3. The next thing I did was fold over the bridge to finish this edge on both of the fronts.


4. When I cut out the band, I didn't check the bottom seam allowances for whether or not there was enough seam allowance to top stitch to the front and flip the elastic to the back, which is the way most patterns have you handle bottom band elastics. My supplies were 3/4 of an inch and my seam allowance was also 3/4 of an inch.  Since this is only a fitting band, I decided to top stitch the elastic so that the plush is facing the body side and just follow my purple line marking the seam allowance.


5. As I'm top stitching under the cup, I need to be certain that the seam allowance sticks up above the channeling, which has to follow that purple line around the cup area.


6. Next I flipped over the piece to stitch the seam allowance down on the front side.


7. Repeat that process on the other side of the frame.


8. Next, I applied the underarm elastic the way most pattern instructions tell you.  The picots of the elastic point down to the frame, the frame is touching the non plush side of the elastic so when the elastic is flipped to the inside, the plush will be facing the body just like the bottom band elastic.


9. Flip the elastic to the inside. (Do this to the other frame piece as well.)


10. Stitch the channeling by following the purple seam allowance line around the cup.


11. Stitch along the bridge to keep the wire from sneaking out the center in the fitting. Then stitch the outside of the channeling down. Yes, you will sew through the elastic with the channeling.


12. Once the channeling is completed, stitch the center fronts together so that the center front seam allowance is away from the body.


13. Usually the curved area of the back band has a strap sewn to it.  Today, I am using the same top band elastic to finish this edge because of the extra area in the back band being located in a place that will make the strap elastic in the way. For the purpose of a fitting, a strap can be safety pinned in place.  This also allows for needing to move the strap location based on how sloped or rounded a person's shoulders may be. Stop the top band elastic just at the edge of the seam allowance so it is underneath the top band elastic when it is turned.


14. Apply the top band elastic like we did to the front frame, plush up, picots pointing to the bottom band then flip to the inside.


15. Guess who forgot to take pictures of applying the bottom band elastic to the back band?  Apply the same as the front frame, pictured below.


16. Apply the hooks and eyes. 


17. Fold on the dotted lines to stitch the band to its original size in the back. This "seam allowance" also goes away from the body.  Since I'm straight stitching on the stretchy material, I used a strip of stabilizing tape to make the stitches not break when the bra is tried on. I topstitched on the very edge. 


18. Line up the side seam stitching lines and stitch the back band to the front band. Again with the seam allowances out. 


End Results


The seam allowances all facing away from the body.

The body side, nice and smooth and nothing to irritate the skin.


Pictured here on a bust form hanger.

Newer Posts
Older Posts

Project Sewing Vault

  • Sewing Courses
  • My Shop's Blog
  • Link List and Newsletter Signup

HELLO, THERE!


Hello, There!

Welcome! There's nothing quite like the self esteem boost of moving into a well-fitting bra. Click the links above and hopefully you'll find something you didn't know previously about custom bras.


Find More


Translate

Bra-Making Blog Post Labels

  • Sew Along
  • Wire Fitting
  • Fitting Bands
  • A Day in the Life
  • Band Alterations
  • Never Sewn Before? Start Here!
  • Proper Bra Wearing
  • Fitting Cups
  • Cup Alterations
  • Measuring for Bras
  • Wire Alterations
  • Fabrics
  • History of Bras
  • Sloper Manipulations

Bra-Making Blog Posts Archive by Date

  • ▼  2020 (42)
    • ▼  February (22)
      • History of Bras
      • Bra Fabrics and Supplies
      • Fitting Wires
      • Soft Launch!
      • Learn to begin sewing
      • Thread your machine
      • Machine settings for sewing bras
      • Wire alterations
      • thezipperlady
      • Measuring BE method bras
      • Fitting Band
      • Band alterations
      • Fitting cups
      • Cup Alterations
      • The Sloper
      • Ruby testers
      • A Client's Fitting Band - Part 1
      • A Client's Fitting Band - Part 2
      • Fashion Fabric Bra Hooks and Eyes
      • Bravo Bella on Frame Diameter
      • Test Cups for a Client
      • A Client's Fitting Summary
    • ►  March (19)
    • ►  December (1)
  • ►  2021 (8)
    • ►  January (6)
    • ►  February (2)
  • ►  2022 (1)
    • ►  January (1)

Sponsor

Ko-fi is a platform for supporting artists for their work but is different from Patreon in that you don't have to do a monthly subscription if you don't want to. For anyone interested in donating for the efforts here and in our drafting forum on Facebook, you may arrange payment through Ko-fi.

https://ko-fi.com/brasbykristen


Pageviews past week

Created with by beautytemplates