How to make a Plaster Cast root trace
Here's another guest post by Anne Bertha, involving root tracing and figuring out wire shapes. This is more of a 3D root trace to get an idea of whether or not the wire could have a bend, twist, or other Manipulation.
How to Make a Plaster Cast
by Anne Bertha
Slight nudity warning!
I’ve been making bras for two years now. Very soon in that process, people told me
that the first thing you should do is search for a wire that fits you. Well, that proved to
be very difficult. By now I have a whole range of different sizes and styles of wires,
but none of them really seem to fit me. After noticing a post on Facebook of
someone who made a plaster cast of her ribcage and seeing the transformation in
bra fit, I decided to make my own plaster cast. This is the tutorial.
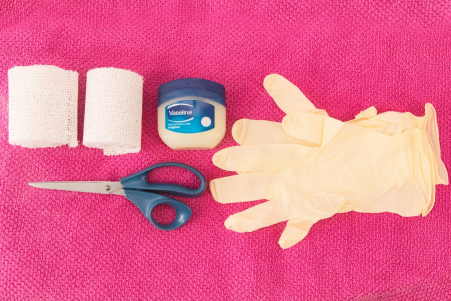
You will need:
● Plaster gauze. For a cast of one underbust, I used 2 rolls of 3 m by 7.5 cm
(3.3 yds by 3 inches).
● Scissors, to cut the plaster gauze in pieces.
● Latex (or other) gloves. It gets real messy.
● Petroleum jelly or olive oil. You want the cast to come off your body easily.
For my first try, I used petroleum jelly and for the second one, I used olive oil.
I must say I liked the olive oil better. It’s just easier to wash off afterwards.
● A bucket (not the best one you have).
● Towels (not the best ones you have) or a sheet of plastic to cover your
working station.
● Preferably a person to put the cast on you. It can be done by yourself, but that
makes it much harder.
When doing my cast, I stood in the bathtub. There will be splashing of plaster drops,
so make sure you think about that beforehand. A day after making the cast, I still find
plaster spots everywhere in my bathroom.
How to do it:
1. Gather all of your materials, and put them near you. Make a workstation,
preferably at a convenient height. Especially when you do your cast yourself,
you don’t want to move too much or else the cast in progress will also move.
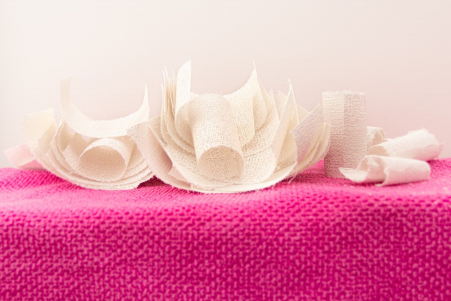
2. Cut up the plaster gauze in pieces of different lengths. When doing a cast of
your whole underbust, make sure you have two piles, one for each underbust.
That way the cast will more likely be evenly thick around.

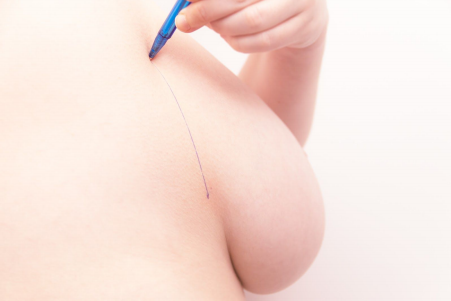
3. You want to wear as few clothes as possible. I advise a bikini bottom which
will wash out easily. If the side of your breast crease is hard to identify like
mine, mark it with a (non-permanent) marker.
4. Fill the bucket with water of the temperature indicated on the plaster gauze
packaging.
5. Find a comfortable position. This can be seated or standing, try to sit or stand
as naturally as possible.
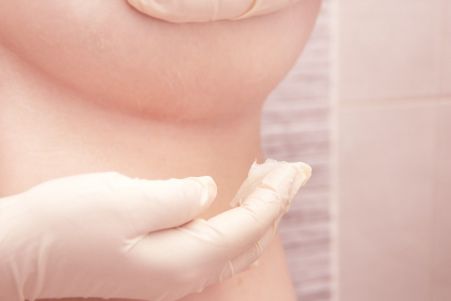
6. Put on the gloves. Time to do this!

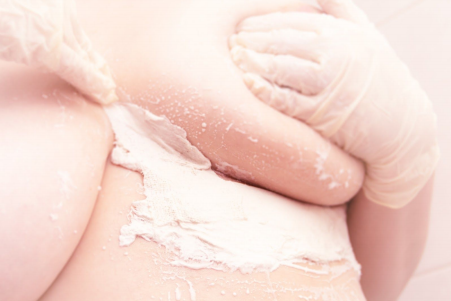
7. Apply vaseline or olive oil to your underbust, it’s best to cover a slightly larger
area to be sure it will all come off easily. It’s best to be thorough but don’t add
a layer that’s too thick because otherwise the plaster won’t stick well and slide
down.

8. Pick up a piece of the plaster gauze, put it in water and take it out. Run it
through two fingers so the excess water comes off, and stick it to your body.


9. Repeat to cover the whole area you want a cast of. Work sequentially from
one side to another, and work as fast as possible. How quickly the plaster
dries depends on a lot of factors, but mine did that quite fast.

10.You’ll notice at some point that the cast will start feeling loose, that’s a sign it’s
drying. I followed the instructions on the plaster gauze so I stood for about 15
minutes in the bathtub waiting for the cast to be dry enough to be taken off my
body.
11.If you want to speed up the drying process, take out the hairdryer and apply
some heat to both the outside and the inside (if you can reach it) of the cast.
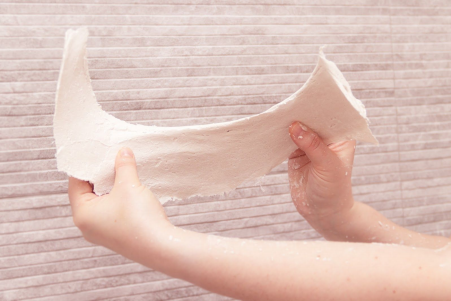
12.Gently put the cast somewhere it can dry completely. Depending on
thickness, this might take up to 48 hours. Make sure to flip it carefully once
one side is dry.
13.Take a good look at your own plaster imprint! You can’t see my smile on the
picture but it was quite large.
Notes: the type of plaster gauze varies from manufacturer to manufacturer. I first
tried making a cast using rolls from a hobby shop for this tutorial, for my second one
I used rolls from the pharmacy. Those were substantially softer before use and
harder set after use.

0 comments
Please be kind, y'all!